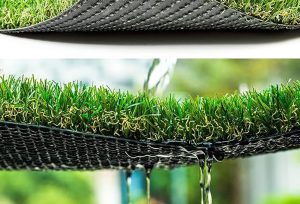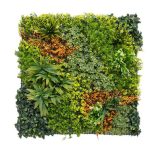
Artificial lawns are a durable and low-maintenance alternative to natural grass. However, over time, even the best synthetic turf can suffer from wear and tear, accidental damage, or weather-related issues. Don’t worry! Repairing your artificial lawn is easier than you might think. Follow these steps to restore your lawn to its original condition.
Common Issues with Artificial Lawns
Before diving into the repair process, it’s important to identify the type of issue your artificial lawn is experiencing. Common problems include:
- Tears or Holes: Caused by heavy usage, sharp objects, or improper installation.
- Flattened Areas: Due to frequent foot traffic or heavy furniture.
- Loose Seams: Occurring when the adhesive or joining tape fails.
- Weed Growth: Occasionally, weeds can sprout through the drainage holes.
- Fading or Discoloration: Caused by prolonged exposure to sunlight or chemicals.
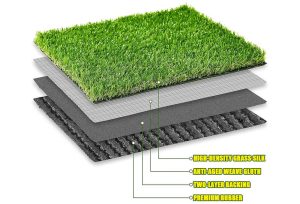
Tools and Materials You’ll Need
To repair your artificial lawn, gather these essential tools and materials:
- Turf adhesive or glue
- Joining tape
- Utility knife
- Seam roller
- Replacement turf (if necessary)
- Turf brush
- Sand or rubber infill (if applicable)
Step-by-Step Guide to Repairing Your Artificial Lawn
1. Fixing Tears or Holes
- Step 1: Cut out the damaged section using a utility knife, making clean, straight edges.
- Step 2: Measure and cut a replacement piece of turf that matches the size and shape of the removed area.
- Step 3: Apply turf adhesive to the edges of the replacement piece and the surrounding area.
- Step 4: Place the replacement piece into the gap, ensuring the fibers align with the existing turf. Use a seam roller to press it down firmly.
2. Restoring Flattened Areas
- Step 1: Use a turf brush or a stiff-bristle broom to fluff up the flattened fibers.
- Step 2: If necessary, add more infill material (sand or rubber) to provide extra support and restore the natural look.
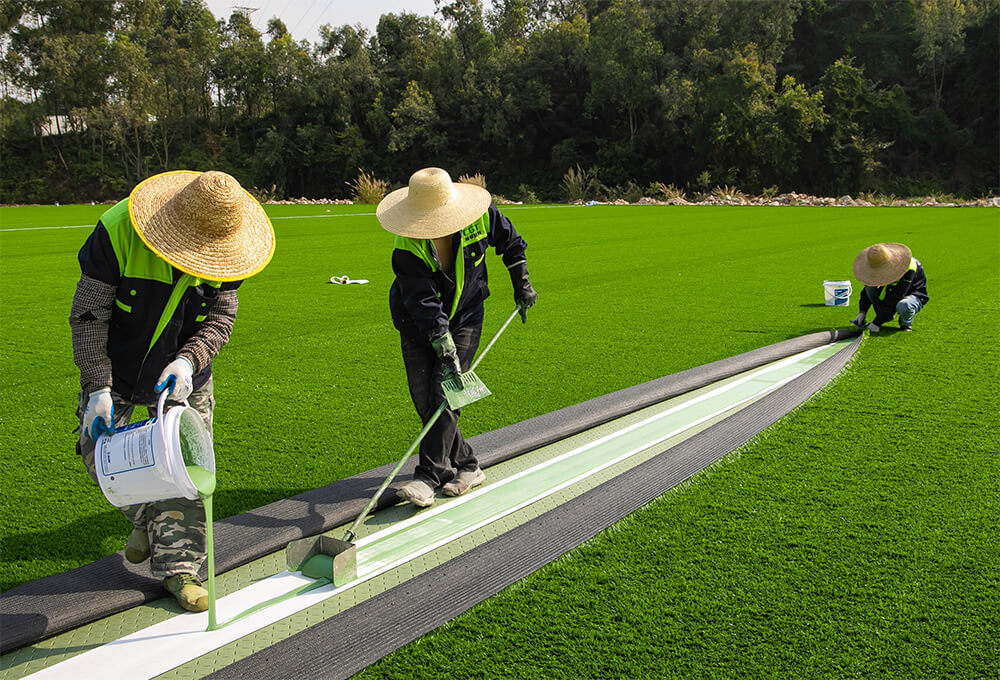
3. Repairing Loose Seams
- Step 1: Lift the loose edges of the turf and clean the surface underneath.
- Step 2: Apply adhesive or use joining tape along the seam.
- Step 3: Press the edges together and use a seam roller to secure the bond.
4. Removing Weeds
- Step 1: Pull out any visible weeds by hand.
- Step 2: Apply a weed killer designed for artificial turf to prevent future growth.
- Step 3: Check the drainage holes and ensure they are free from debris.
5. Treating Fading or Discoloration
- Step 1: Clean the affected area with water and mild soap to remove dirt and stains.
- Step 2: Consider applying a UV-protectant spray to restore color and protect the turf from further sun damage.
Maintenance Tips to Prevent Future Damage
- Avoid placing heavy or sharp objects directly on the turf.
- Brush the fibers regularly to maintain their upright position.
- Replenish the infill material as needed to provide proper support.
- Inspect seams and edges periodically for signs of loosening.
- Use a cover to protect the lawn from extreme weather conditions.
By following these repair and maintenance tips, you can keep your artificial lawn looking fresh and functional for years to come. If you encounter major damage or feel unsure about the repair process, don’t hesitate to contact a professional for assistance.
Transforming a damaged artificial lawn into a pristine, green space is within your reach—happy repairing!